東京 · Software Engineer
Justin Nel
South African programmer living in Tokyo. Writing about TypeScript, systems, tools, personal experiments, and the quiet satisfaction of things that make sense.
Latest · April 26, 2026 A long overdue update → Writing
-
A long overdue update
Catching up after a few quiet years, from Sweden and Cyber Lane AB to Japan and Cogent Labs.

-
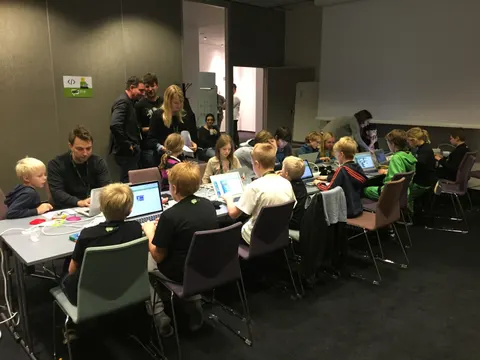
KidSpeak in Lund
Kidspeak is coming to Lund, Sweden
-
Another site for my content
Talking about another one of my websites
-
Why Cloudflare gives error 522 to my NodeJS app
Explaining something I discovered about Cloudflare

-
Cloudflare Dynamic DNS
A simple script that updates your Cloudflare DNS entry
-
Finding MSBuild with Windows Batch files
How to find MSBuild within a batch file

-
Blogging with Octopage
I have started using Octopage
-
NancyFx localhost only request modules
Preventing non-localhost requests from reaching NancyFx modules